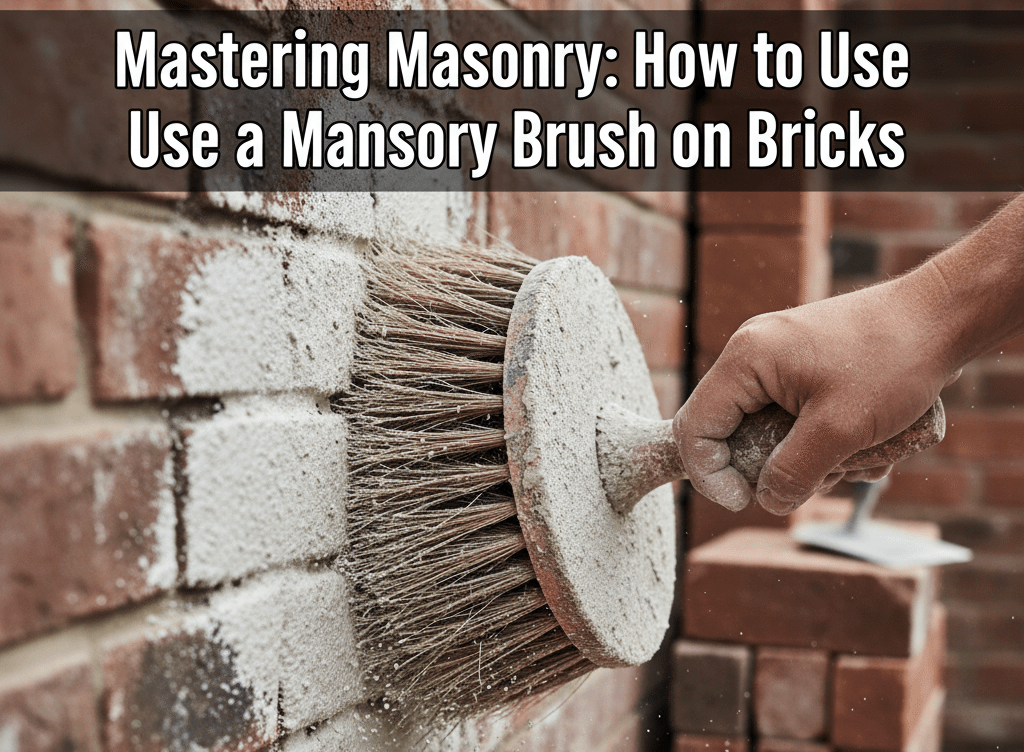
Mastering Masonry: How to Use a Masonry Brush on Bricks
If you are going to do some cleaning, sealing, or restoration of brickwork, then knowing how to handle a masonry brush on bricks will be of great help. For professionals as well as do-it-yourself (DIY) workers on brick walls, patios, or stone surfaces, the masonry brush is the essential tool. The procedure of applying sealant, dust removal, or painting, whichever you are doing, will yield a durable and neat finish if you use the proper technique.
Perfect Restoration in this guide is going to take you through the process of knowing masonry brushes – their uses and types, and even to expert tips for getting professional-level results.
What Is a Masonry Brush?
Before getting into how to use a masonry brush, it is necessary to first comprehend what a masonry brush is. A masonry brush is an industrial-strength brush that is made for rough and uneven surfaces such as bricks, concrete, and stone. It is usually made of thick natural or synthetic bristles that can hold more liquid and are less likely to get damaged by abrasion.
These brushes are perfect for applying covering materials such as water sealants, masonry paint, bonding agents, or even just for cleaning dust and debris from porous surfaces. At Perfect Restoration, the professionals will usually opt for wide masonry brushes since they can quickly cover a larger area and, at the same time, create an even coating on the bricks.
Why You Need a Masonry Brush for Brickwork
Bricks are porous by nature, which means they easily absorb liquids and keep a lot of dust and dirt. The use of normal brushes or rollers can cause uneven application or streaky finishes. A masonry brush, however, goes deeply into the brick’s texture and guarantees that the whole area gets the same amount of paint or stain.
With the right technique applied to bricks, a masonry brush not only brings out the beauty of the brickwork but also strengthens it. A properly applied coating will keep moisture from getting in, will prevent mold from growing, and wear from happening – in short, it will make your walls or your patio last longer. Perfect Restoration even states that a cleaning process that is very simple can increase the brick surfaces’ structural integrity greatly if done with the right tools, even for the case of a simple cleaning process.

Tools and Materials You’ll Need
Before the start of your project, list all materials required. The key to a smooth and efficient process is preparation. This is what you will need:
- Quality masonry brush (natural bristles for oil-based products or synthetic for water-based ones)
- Cleaning solution or mild detergent
- Protective gloves and safety goggles
- Masonry paint, sealant, or bonding agent
- Bucket or paint tray
- Drop cloth or plastic sheeting
Being equipped with these basics will not only make your work faster, but it will also allow you to concentrate more on polishing your brushing technique.
Step-by-Step Guide: How to Use a Masonry Brush on Bricks
Step 1: Clean the Brick Surface
Before doing anything with the product, check to see that the brickwork is clean and dry. The coating will not stick well if there is dirt, dust, or loose particles underneath. A stiff-bristled broom or a wet and mild detergent masonry brush can be used to scrub away the dirt. If the bricks are very dirty, it might be necessary to use a pressure washer. After cleaning, Perfect Restoration suggests that you allow the bricks to dry completely before continuing.
Step 2: Prepare Your Coating
The project could involve applying either a sealant, paint, or bonding primer, among other things. First of all, stir the product very well to make sure that it is of the same quality throughout. Then, transfer it into a bucket or paint tray so that your masonry brush will easily get dipped into it without dripping too much.
Step 3: Load the Masonry Brush Properly
Now, take your masonry brush and dip it into the product to about a third of the thickness of the bristles. Do not load the brush too much because it will lead to drips or uneven coverage. Just lightly tapping the brush against the side of the bucket is enough to get rid of the extra material.
Step 4: Apply the Product in a Consistent Pattern
At this stage, you are allowed to apply your product. You can brush the coating onto the brick surface using strokes that are firm yet controlled. On vertical walls, first coat the top and gradually move down to avoid streaking. Distribute the pressure evenly so that the bristles penetrate the surface of the bricks deeply. To put it simply, the aim is to get full coverage without over-saturating the surface. When learning how to use a masonry brush on bricks, consistent application is essential.
Perfect Restoration experts suggest using a cross-brushing technique — brushing first horizontally and then vertically — to ensure the total penetration of the coating into all pores and gaps between bricks.
Step 5: Allow Proper Drying and Recoat if Necessary
Follow the manufacturer’s instructions and let the first coat dry completely. Some coatings might need a second coat to provide extra protection or a richer color. Before applying another layer, always check for uniformity. Once you are through, wash your masonry brush right away with warm water or the recommended solvent to prolong its life.
Common Mistakes to Avoid
While using a masonry brush is straightforward, but often novices make mistakes that undermine the quality of their finish. One of the most common mistakes is applying too much material — thick coats will peel or crack. Don’t apply a masonry brush to a surface that is wet or dirty, which traps moisture under your coating. Finally, don’t skip the drying time between coats — it will affect adhesion. At Perfect Restoration, we believe being patient and precise is key to a quality restoration to lasts.
Maintenance Tips for Your Masonry Brush
After using your mason brush, you’ll want to make sure you clean it well. For water-based masonry materials, rinse it under warm water until you have cleaned it; for oil-based materials, use a proper solvent. To ensure the bristles stay in the proper shape while drying, hang your brush or store it flat. Taking proper care of your brush will help it last you through several restoration projects.
Conclusion
Knowing how to use a mason brush on brick can change your brickwork from bland to beautiful while adding protection from damaged brick due to weather. After all, we all want our bricks to last, whether sealing a driveway, restoring an old wall, or painting a fresh first coat on a property’s exterior. The technique used and the tools used do matter.
With direction from the experts at Perfect Restoration, we have achieved a wonderful success in achieving a professional finish that looks great while providing durability to the brickwork.

FAQs
1. What is the best type of masonry brush for bricks?
Natural bristle brushes work best for oil-based products, while synthetic bristles are ideal for water-based paints or sealants. Always choose a sturdy, wide brush for brickwork.
2. Can I use a masonry brush for cleaning bricks?
Yes, you can use a masonry brush to clean dirt and debris from brick walls before applying a sealant or paint. It also removes dust lodged in the pores of the brick.
3. How often should I reseal brick walls?
Brick sealants typically last 3–5 years, although areas exposed to the elements may need to be resealed more frequently. Perfect Restoration recommends you look for wear once a year.
4. Can I use a roller instead of a masonry brush?
While rollers can cover large areas relatively quickly, they cannot get into the crevices. A masonry brush gets into the holes and gives a consistent coating to the surface, especially the texture on some bricks.
5. How do I prevent brush marks on bricks?
When painting, use long, smooth, and consistent strokes, while avoiding pressing too hard. Work in small areas and overlap the previous area before the coating dries.