Easy Vinyl Plank Flooring Installation Guide
If you are considering a trendy and fresh look for your home, vinyl plank flooring is one of the best affordable options. It’s durable and easy to maintain, plus you can install it yourself, given you have the right tools and some patience.
At Perfect Restoration, we apply flooring installation and home improvement services. Here in this guide, we will take you through everything you need to know about installing vinyl plank flooring, from preparation to the final touches.
Why Choose Vinyl Plank Flooring?
Before discussing the installation process, it is important to understand why vinyl plank flooring has become a popular option for homeowners alike.
- Water-Resistant: Ideal for kitchens, bathrooms, and basements.
- Durable: Very durable and can withstand substantial foot traffic without damage.
- Stylish: Available in a range of designs that look like real wood or stone.
- Easy to Install: Most vinyl planks click together, making tricky installations easier for a DIY project.
- Low Maintenance: It only needs to be swept and mopped every so often—no extra special cleaner required.
If you’re looking for a good-looking floor without big costs and a lot of hired crews, vinyl plank flooring is ideal!
Tools and Materials You’ll Need
Before you start, ensure that you have the correct tools ready to go. Keeping everything nearby will make the job easier and quicker to complete.
- Tape measure
- Utility knife or vinyl cutter
- Pencil
- Spacers
- Rubber mallet
- Tapping block
- Straight edge or ruler
- Pry bar
- Underlayment (if necessary)
- Vinyl plank flooring of your choice
At Perfect Restoration, we always check the tools and materials before starting any floor job to save time and maintain accuracy.
Step 1: Prepare the Floor Surface
Proper planning is the most important ingredient when it comes to enjoying a long-lasting and respectable floor. It’s not too much work; simply follow these simple steps when you are about to put down the planks:
- Clean the subfloor – Spend a little time doing this. Dust, dirt, nails, and rubbish need to be removed.
- Get the surface level – If your floor happens to be very uneven, you can always use a leveling compound.
- Make sure the floor is dry – Moisture is the enemy of successful flooring. Vinyl doesn’t adhere to supple surfaces, so inspect any moisture in the subfloor.
- Remove old flooring (if needed) – You will want to remove any old carpet or tiles, because that will provide the best results.
Perfect Restoration Tip: If you’re using vinyl planks, let them acclimate in the room for 48 hours before installation. This allows the planks to find a comfortable temperature in the room, as well as the humidity in the area.
Step 2: Plan Your Layout
Before cutting or laying any planks, you should have a visual in your head of what you’d like your floor to look like. Measure the width and length of the room to estimate how many planks you’ll need.
- Begin laying the boards from the longest wall.
- Additionally, leave a ¼ inch space between the wall and flooring for expansion.
- To minimize the chance of repeating patterns, be sure to mix planks from multiple boxes.
If you plan properly, your layout will create a balanced and natural look for your floor.
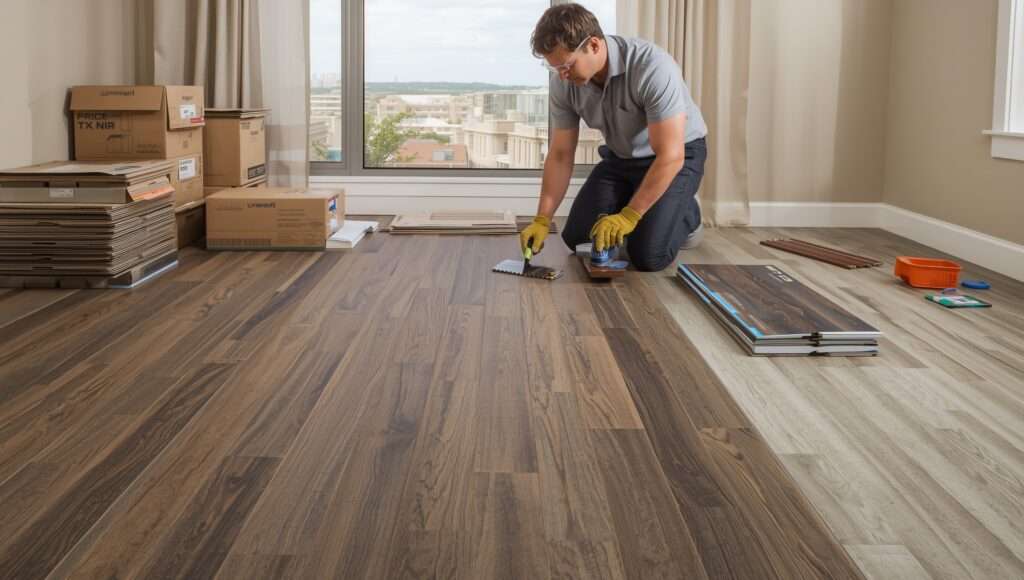
Step 3: Install the First Row
Now the fun begins!
- Start in the left corner of the room.
- Put spacers between the wall and the first plank.
- Attach the next plank by clicking it into place.
- Keep going until you are at the end of the wall.
- Cut the last plank to fit (use a utility knife).
Tip: Make sure to keep the first row straight and tight—this will keep the rest of your floor in line.
Step 4: Continue Laying the Planks
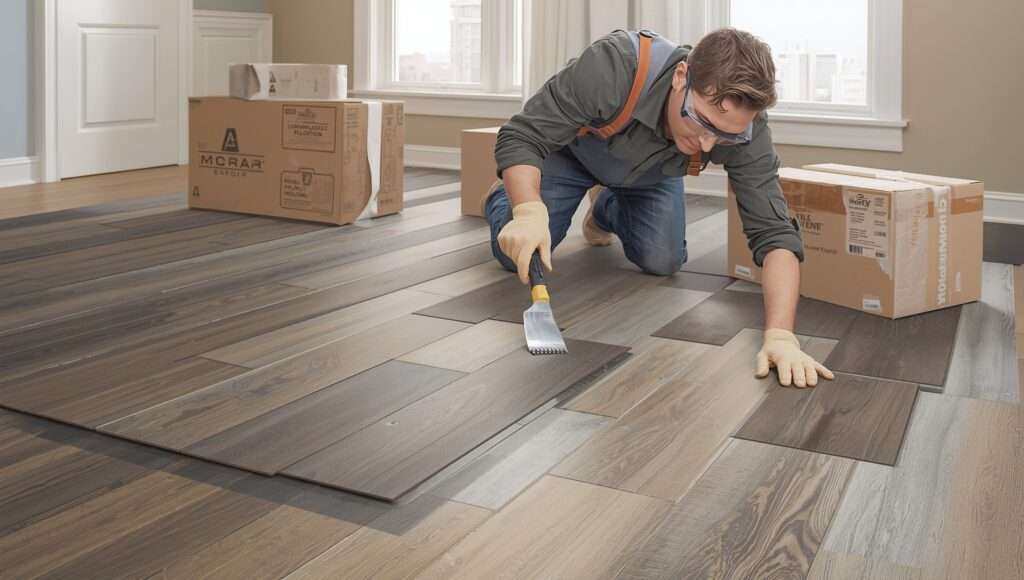
Once the first row is finished, it will be time to move on to the second row. You will use leftover pieces from the first row to begin, as long as the leftover pieces are at least 6 inches long. Stagger the wood flooring planks so that they look natural instead of uniform. You will click the planks together at an angle and then press down to lock them in place.
If the wood floor planks do not seat properly, you will want to tap the planks with a rubber mallet to ensure a tight fit. Continue this process until your entire floor is complete. Remember to check at the end that all seams are tight and make sure the seams are lined up.
Step 5: Cut Around Obstacles
You might have to trim planks in order to accommodate door frames, vents or pipes.
- Take accurate measurements.
- Then, use a pencil to mark your cutting lines.
- A utility knife may be used to score and snap the plank.
- If you are cutting around a complex shape, a jigsaw or handsaw may be better suited.
At Perfect Restoration, our professionals always ensure that we weigh each measurement twice before cutting a plank, thus always ensuring a perfect fit.
Step 6: Install the Final Row
When completing your last row:
- Measure the final gap.
- Rip your planks to fit the gaps.
- Make sure to leave a ¼ inch gap for expansion.
- Then, make sure to use a pry bar to tightly fit the final row.
- You’ve finished the installation, now it is time to complete the details.
- Removing the spacers around the perimeter of the flooring.
- Once the spacers are removed, you can attach baseboards or trim to cover the gaps.
- A light broom or vacuum will be essential to clean the top of your floor.
- Please refrain from placing heavy furniture on the floors for 24 hours to allow the flooring to fully settle.
Congratulations on your beautiful new vinyl plank floor! You are now able to step back and enjoy!

Professional Help from Perfect Restoration
Vinyl plank flooring is certainly a manageable project to complete yourself, but sometimes it is simply the best choice to hire professionals, as is the case with larger jobs or if the floor is uneven.
Here at Perfect Restoration, we can manage the installation properly and manage all of the finished materials to guarantee quality and perfection. We handle the entire project, including the removal of any old flooring, and you can remove the stress of finalizing the new floor and enjoy seeing it done professionally.
We work for both residential and commercial clients, and the final result will be what everyone is the same: a quality job at a reasonable price.
The team at Perfect Restoration would love to see you take on the challenge of making your vinyl plank floor professional, and you will appreciate it for the better part of the life expectancy of the floor.
Maintenance Tips for Vinyl Plank Flooring
Once your floor has been installed, it is easy to keep it looking great:
- You will want to sweep or vacuum regularly to remove dust and dirt.
- You can mop with warm water and a mild cleaner (avoid using harsh chemicals).
- Keep some mats near the doors to trap dirt.
- You should use felt pads underneath furniture legs to avoid having scratches.
- You will want to clean up spills immediately to avoid stains.
If you adopt these simple habits, your vinyl floor will look like new for years to come.
Common Mistakes to Avoid
Although Vinyl Plank Flooring Installation is straightforward, there are a few fairly common mistakes that will create problems:
- Skipping floor leveling: This can leave gaps and cause the vinyl plank to lift.
- Leaving out expansion gaps: Make sure to leave space for expansion and contraction.
- Poorly planned layout: Random cuts create a floor that looks uneven.
- Installing over wet floors: This will weaken the adhesive and damage the planks.
Avoid these mistakes to achieve a smooth, professional finish.
Final Thoughts
One of the simplest and most gratifying home improvement tasks is to Vinyl Plank Flooring Installation. In no time, it can radically alter the appearance of your home and add value at the same time.
Whether you are installing the flooring yourself or you decide to hire a contractor, Perfect Restoration is always there to assist. Our team guarantees that your flooring job is in good hands so that you can enjoy beauty, comfort, and durability in your home for years to come.
If you are ready to improve your flooring, go ahead and reach out to Perfect Restoration today and allow us to make your house perfect again.

Frequently Asked Questions
1. Can I install vinyl plank flooring over tiles or concrete?
Yes! You can install it over most floors, as long as the surface is clean, dry, and level.
2. Does vinyl plank flooring need underlayment?
Some planks come with an underlayment attached, but not all. If the vinyl does not have an underlayment, it is highly recommended to add one, so you can get the benefits of reducing sound and improving comfort when walking on your new floor.
3. How long does it take to Vinyl Plank Flooring Installation?
A small room can typically be completed in one day. A larger area can take 2-3 days, but it depends on your experience and the layout of the flooring.
4. Can vinyl planks be damaged by water?
Vinyl planks are water-resistant, but not waterproof forever. You should always clean up spills quickly to protect your floor.
5. Why should I hire Perfect Restoration?
Perfect Restoration provides all professional flooring services with care, precision, and affordable pricing to make your home look beautiful and safe.

